
At home
Step-by-step: turn a door into cornered shelves
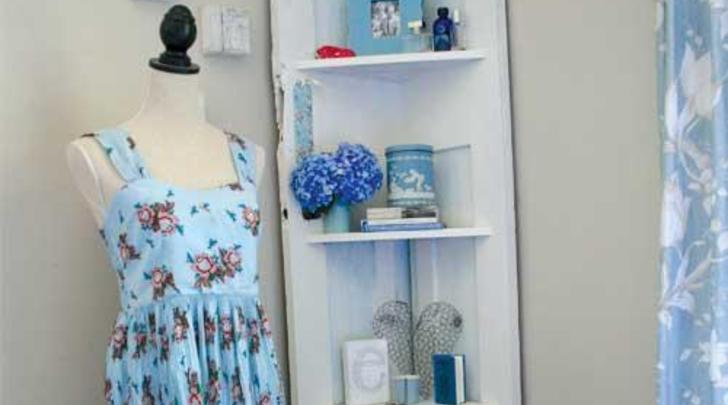
[This story first appeared in the Feb-Mar15 issue of Green Ideas magazine.]
Junk shops are full of battered old doors, which are easily upcycled into shelves that will become a talking point in your home. The more rusticated the door, the better – this will give the unit a lot more character!
You'll need:
- A solid wooden door (give it a good clean with warm soapy water before you start)
- Wood for the shelves (plywood or something similar)
Tools required:
- Tape measure
- Pencil
- Skill saw
- Drill / screw gun
- Screws
- Paintbrush & paint
If you love this idea but can’t see yourself whipping out the tools to make it, contact Dave and Stella at [email protected], and they'll be more than happy to take orders and make it for you! For more details visit www.lennoxwoodcraft.co.nz
Step by step
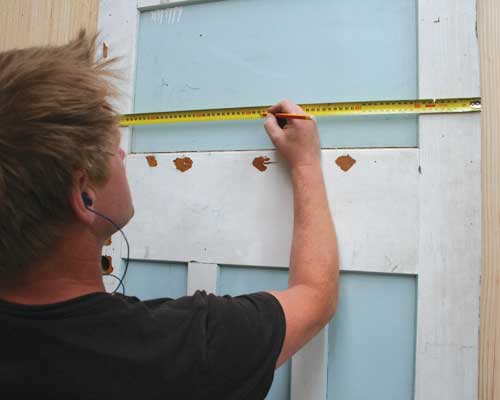
Step 1 - Measure the width of your door to establish the middle point. Mark the centre with a pencil.
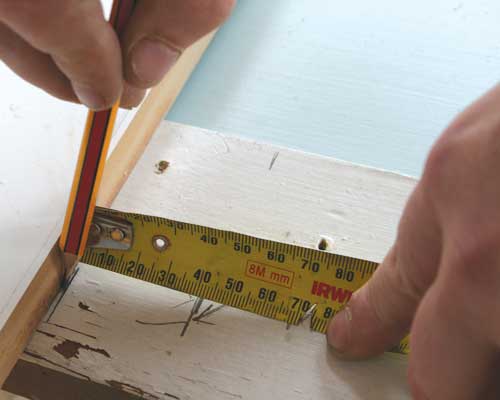
Step 2 - Measure the width of door edge and offset this measurement from your centre point (in our case, 40mm). Mark a line the length of the door; this is the line you will cut along.
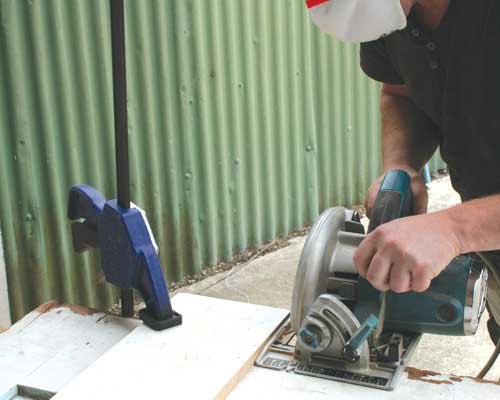
Step 3 - With your skill saw, cut the door vertically into two pieces along your marked line. One piece will be wider than the other.
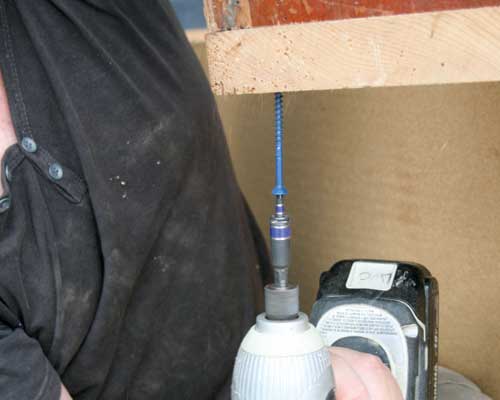
Step 4 - Lay the wider side of your door flat on your workbench and place the narrower piece on top at a 90 degree angle (if you use the corner of your shelving timber as a guide to getting the angle right, it will save any trouble later). Screw the two pieces together, top, end and bottom.
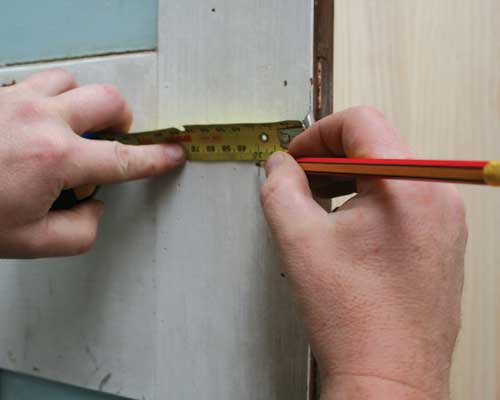
Step 5 - Now make the shelves. These look best slightly inset, so stand the unit upright and measure in about 30mm from each side of the unit, and mark with a pencil.
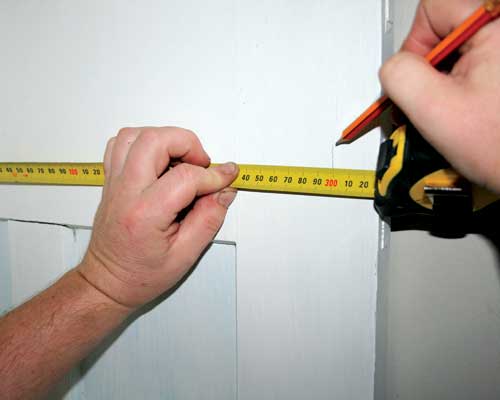
Step 6 - From your pencil mark, measure the distance to the back of the unit on both sides – take note of these measurements.
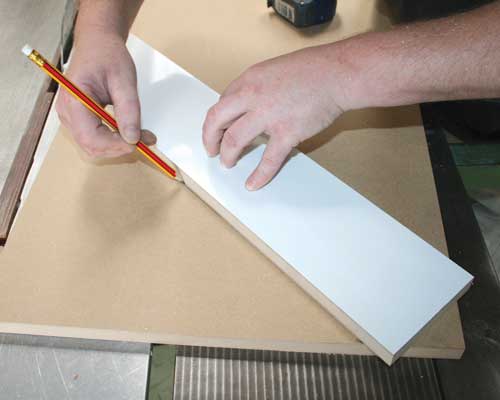
Step 7 - Mark two points on the edge of your shelving wood using the measurements taken in Step 6. Drawing a line between these two points, then cutting along it, will give you a triangular shelf. Cut as many of these as you like (we made four).
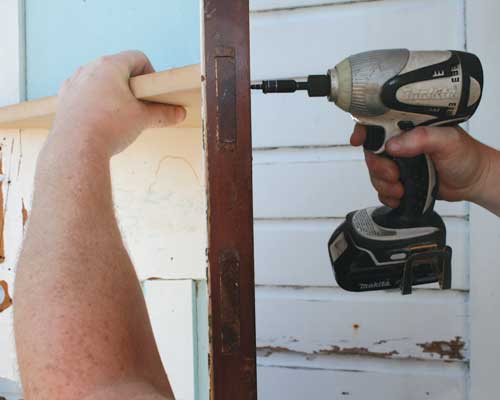
Step 8 - Hold each shelf in place and screw into the unit from the back. Repeat for all shelves.
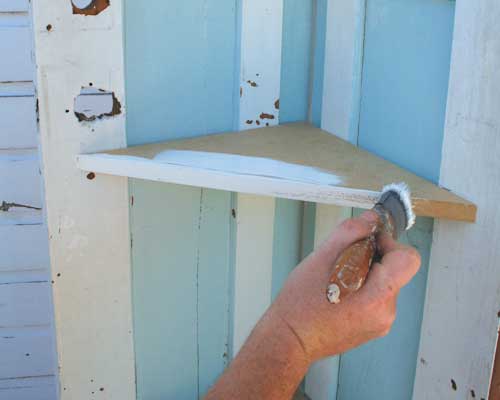
Step 9 - Now paint your door and shelves. We went for a rustic country look, but this is where you can get creative with colour.