At home
Step-by-step: Brew your own beer
Kelly Gibney
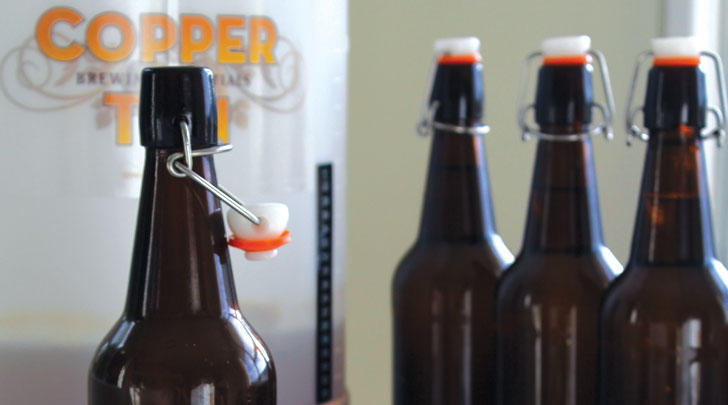
Get back to basics by making your own refreshing summer beersies. Kelly Gibney shows us how.
[This story first appeared in the Dec14-Jan15 issue of Green Ideas magazine.]
Brewing beer at home is the height of cool right now and with good reason. It is a pleasurable mix of science and art that provides a greener alternative to store-bought beer. You can eliminate lots of wasteful packaging and produce a great homemade product for a fraction of the cost.
This homebrew beer recipe uses a ‘brew in a bag’ method that requires only a small amount of equipment and not much space. It can easily be done in a residential kitchen without the need for huge outlays of cash or a designated brew area.
The basic set-up costs about $200 (not including ingredients). A more sophisticated approach would need upwards of $1000 – so this is a great starting point for beginners. This simple method also gets you more connected with the process than a more automated approach would. You will learn and observe more at each stage, so if you decide to upgrade your equipment, you will have a fantastic knowledge base.
This recipe uses ground-up malted grains as its starting point. However you can simplify things further by buying tins of ready-to-mix blends if you wish. All the equipment and ingredients needed can be found at craft brewing stores – both physical and online – and of course you can pick things up second-hand for a bargain on Trade Me.
You’ll need
- Sanitising solution (available at brewshops)
- Large pot for brewing (20L-plus is good)
- Large plastic bucket or basin (or a bath tub)
- Brew bag – a large mesh bag, big enough to fit around the rim of your pot
- Measuring jug
- Sieve plus a muslin cloth
- Beer bottles and tops (I used 750ml and 500ml swing-top glass bottles)
- Long stirring spoon
- Thermometer
- Siphon
- Notepad (to record measurements, timings and successes / fails for future reference)
- Fermenter with airlock (available from brew shops)
Ingredients
- 3kg pale ale malt grains
- 300g crystal malt grains
- 300g carapil malt grains
- 75g NZ cascade hops
- Small packet Irish moss
- Yeast (I used Safale US-05)
- 19L water
- 400g sugar
- Bag of ice (or frozen bottles of water)
Step by step
Step 1 Sanitise equipment and prepare grain
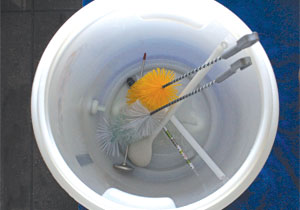
First sanitise all the kitchen surfaces and equipment using a sanitising solution. I recommend using the fermenter as the vessel to sanitise the smaller bits of equipment. Place all the pieces in the solution, then leave it to air-dry on a clean bench top.
Step 2 Prepare grain
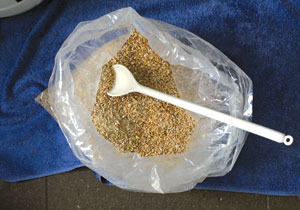
The grain also needs to be milled before you begin; most brew shops can do this for you in-store. Before you start ensure the grain blend is well mixed by stirring with a long spoon.
Step 3 Create the mash
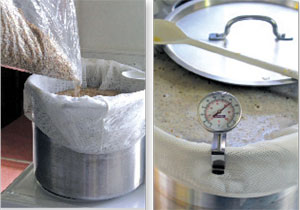
Heat 12 litres of water in the large pot to 70°C. Use the mesh bag to line the pot and place the grain inside – this will bring the water temperature down to the ideal heat of 65°C. Gently stir the grain to remove any lumps.
Step 4 Insulate and leave mash to soak
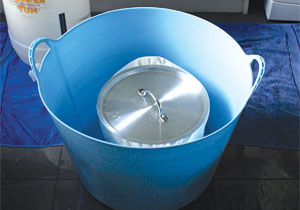
Next leave the mash to soak for 60 minutes. Aim to keep it at an even temperature by insulating it in a larger vessel (such as a large plastic bucket or bathtub) filled with hot water.
Step 5 Sparge the grain
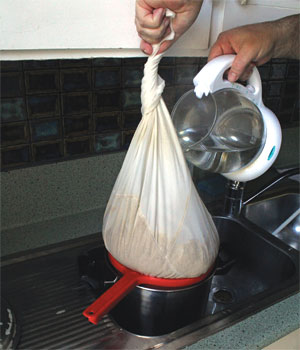
Sparging is the process used to extract all the sugar possible from the soaked grain. The 7 litres of water used for sparging should ideally be at 80°C. This can be achieved by using 70 per cent freshly boiled water and then topping up with cold. Gather your bag and hold firmly (without squeezing) over the large pot in which the grain water is sitting. Pour the hot water over the bag using roughly a quarter at a time. Ensure the grains are evenly soaked then leave them to drain into the pot for a few minutes. Your liquid is now called the wort. At this stage (for a pale ale) you want the wort to be a pale amber / gold colour. Discard the bag of grain (easy if you have chooks).
Step 6 The boil
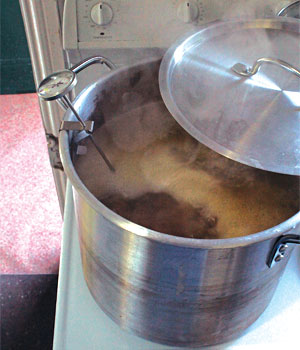
The purpose of the boil is to sterilise the liquid, coagulate the proteins, add depth of flavour and caramelise the sugars. Place the large pot on the heat and leave to boil. For this recipe we will boil for 60 minutes, adding hops and Irish moss at various points (see step 6).
Step 7 Add hops and Irish moss
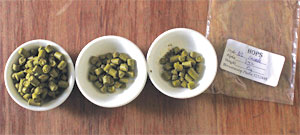
This is the stage where hops are added. They can be added at different times throughout the boil to achieve different flavour profiles. Hops added at the beginning will give bitterness (a certain amount of which is definitely desirable). Hops added in the middle will give sweetness and fruit. Hops added at the end will provide aromatics. Each recipe will have a different hop “schedule”. For this recipe add the hops in three lots: 12 grams at 10 minutes, 12 grams at 30 minutes and 24 grams at 60 minutes. Ten minutes before the end of the boil add 1 teaspoon of Irish moss. This helps sediment fall to the bottom, resulting in a clearer beer.
Step 8 The cold break
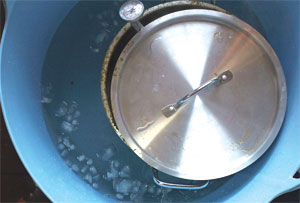
The aim of the cold break is to cool the brew as quickly as possible to avoid airborne contamination and help keep the brew clear. Aim to bring it down to roughly 25°C before the yeast is added. Any higher temperature and the yeast will die. I used the same large vessel I did for insulating the mash and this time added lots of iced water. Be prepared in advance with lots of ice! Large drink bottles filled with water and frozen in advance are excellent.
Step 9 Strain into fermenter, add yeast
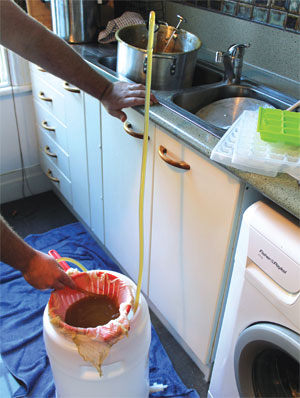
Use a sieve lined with muslin to strain the liquid into a sanitised fermenter. Siphoning makes this process easier. Now pour the yeast into the liquid and stir ever so slightly. I have used Safale US-05, which is a really reliable yeast, suitable for a range of beer styles. Place the lid on tightly – your fermenter should have a one-way valve that allows gas to bubble out without letting in bugs. It may need a little cold, boiled water added at this point.
Step 10 Fermentation
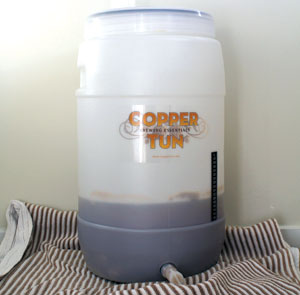
Leave the brew to ferment in a warm place that stays between 24°C and 28°C (perhaps the hot water cupboard?). Heat fluctuations will cause undesired flavour and texture changes. In cold weather you can use a low-energy heat pad. Leave to ferment for two weeks then on the last night leave your vessel outside in a cool spot. This is called a cold flash and will help drop any remaining sediment to the bottom.
Step 11 Sugar solution for bottling
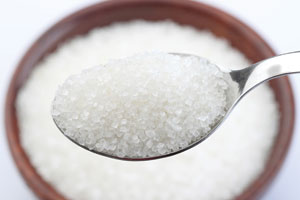
Add sugar to the fermented brew just prior to bottling. The yeast already in the brew will then ferment the sugar in the bottles, creating gas which will carbonate the beer. Weigh out 400g of sugar and boil it on the stove with 300ml of water. Leave this to cool completely (about 1 hour) before adding to the beer. Stir sugar into the beer very carefully – too much stirring can oxygenate the beer and affect the flavour. Leave for twenty minutes to allow the sugar to blend through completely.
Step 12 Bottling
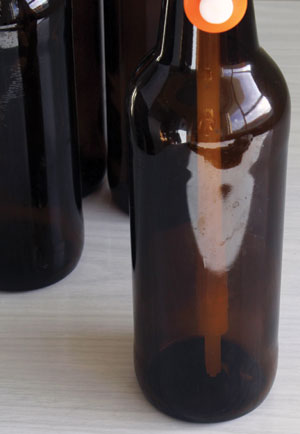
Sanitise the bottles and siphon as per step 1. Hold the siphon 2-3cm from the bottom of the bottles and fill until 2.5cm from the top. Store the bottled beer for at least two weeks and preferably a month. This is essential as it improves the clarity of the final product and gives the yeast time to carbonate. Now crack open a bottle and enjoy! Make sure to record the success and any feedback from this brew in order to tweak and plan future batches. And remember to enjoy in moderation.
Extra for experts
Hydrometer. Also called a gravity meter. To keep this recipe simple I have not worried about using one, though if you intend to keep brewing it is a good idea. They are not expensive (under $20) but the calculations when using one can get a little involved. A hydrometer measures the viscosity of your liquid. Basically; the thicker the wort, the more sugar you have extracted while mashing and boiling, and this determines how much alcohol will be in your final product.
Hops – ready to experiment? You could try different hops with this recipe. Perhaps use cascade for your first two additions and a different strand for the last – play around.
To make a really aromatic version of this recipe do a 90-minute boil and add hops every 10 minutes after the first 20 minutes. You don’t need to use any extra, just divide the required amount into smaller parts.
